This section contains some instructions on how to manage you OpenStack instances.
When you’re not working on the course it is important and considerate to turn off your instance to avoid using unnecessary resource. If your instance is running, even if you are not doing anything on it, it will be using resource and may hinder others using the resources.
Log onto the OpenStack console and find your instance.
Click on Compute - Instances and if you cannot find your instance easily, use the filter button.

If you wish to keep your data, use the ‘Shut Off instance’ option. In this state the data written to disk will be preserved, but the instance will be ‘off’. It is the equivalent of turning off a computer.
Use the dropdown next to your instance and select “Shut Off Instance” (near the bottom)

You will be asked to confirm - Double check it is the instance you intend to shut down.
If the status of your instance is Shutoff - click Start Instance.
Double check the IP address of your instance as it may change - you will need to use the new IP address to connect to you instance.
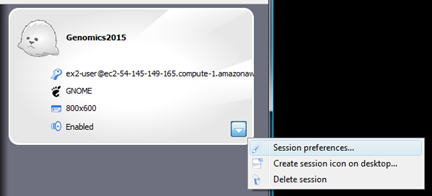
In X2Go click on the drop down arrow to get the menu of options.

Note: this will destroy all work done to date.
When you’re completely finished done with the workshop, click the drop-down menu next to your
instance and select ‘Delete Instance’.
It will ask you to confirm - You can then watch the status change from ‘shutting down’ to Deleted’.