In this section of the workshop we will create our Instance in Exeter’s OpenStack cloud.
If you have an instance from a previous session do not create another one. Please go to the Managing OpenStack page and restart your existing instance.
Otherwise let’s get on and launch the instance we need for our workshop !
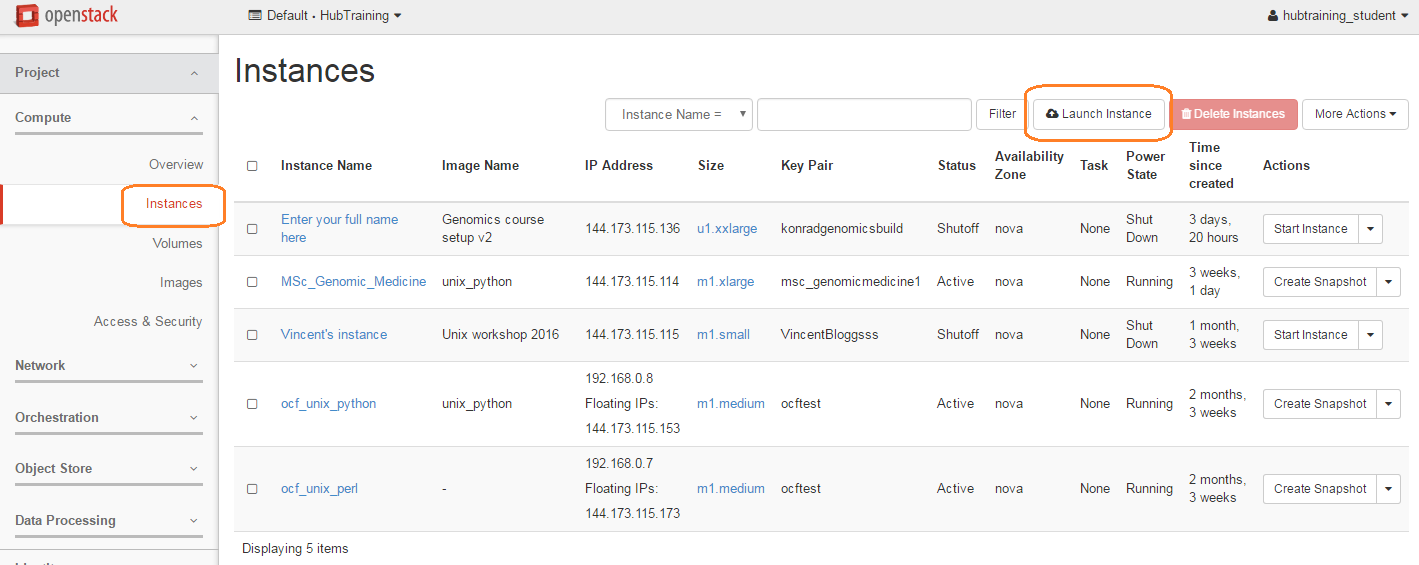
Remember that everyone is sharing the same logon - so you will need to be identify your instance from everyone elses.
Now we need to choose the image of the machine we want to replicate.
We have prepared a machine image or snapshot for this course which contains the relevant data you’ll need.
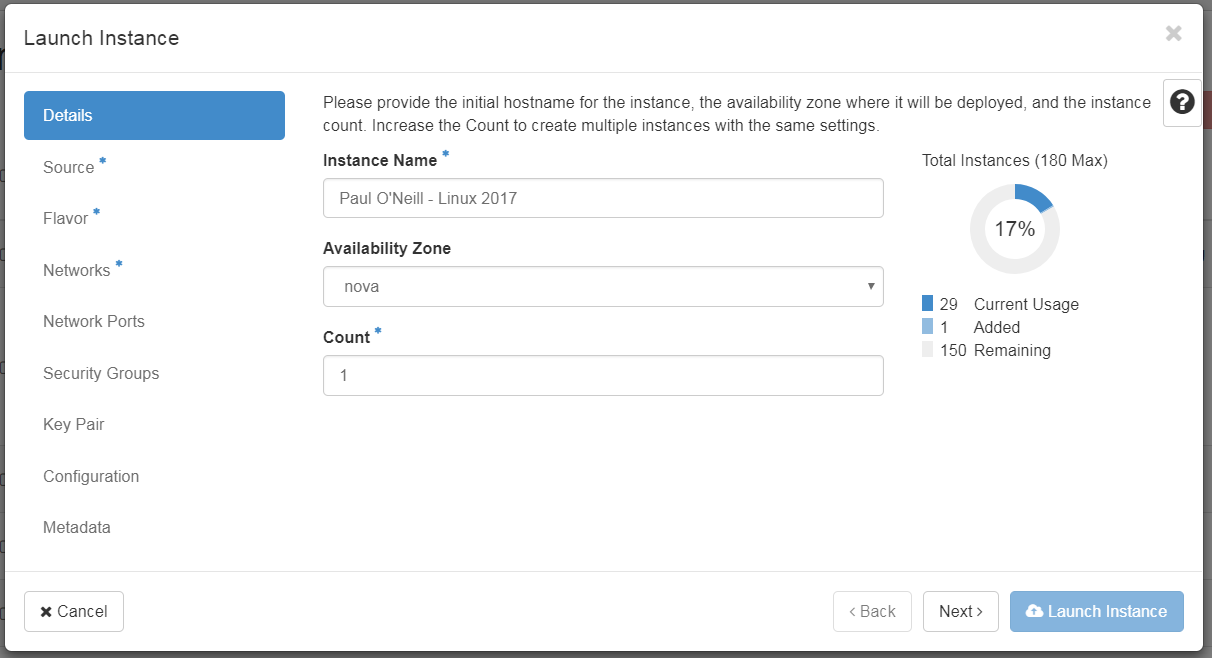
Refer to the instructions you have been provided for this course and don’t copy the example below exactly!
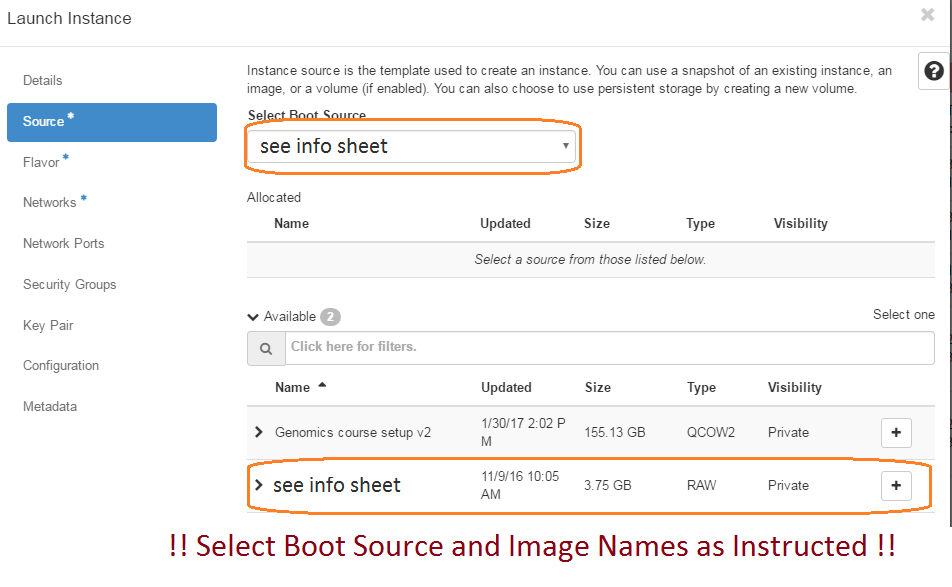
The page should now look like this:
Please make sure you select the correct machine image for this workshop!

Here we’re going to decide on the size of the server instance we want to create. You’ll see we have a variety of ‘flavours’ or options available.

Select the public Network, as highlighted below.
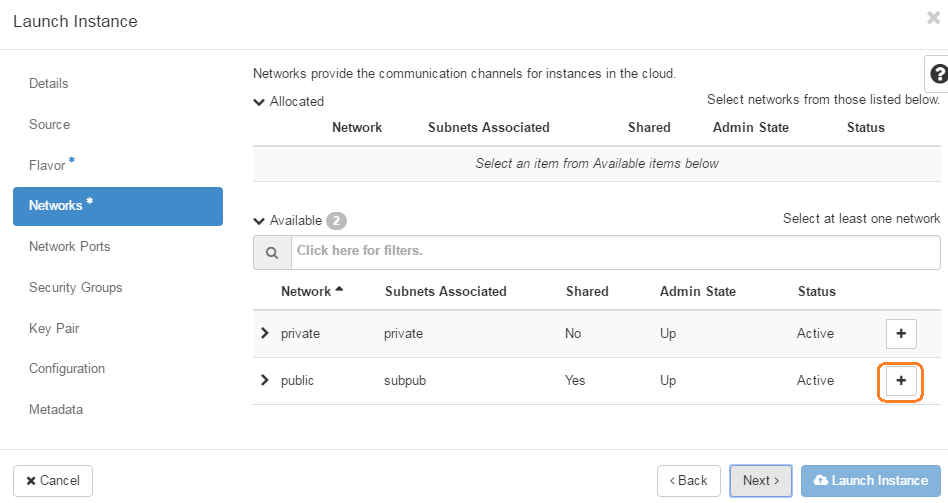
Once you have done this, click on the ‘Security Groups tab’

You have just configured an instance! Well done. In summary, you have given your instance a name, chosen which source machine image to base the instance on, selected the size of the instance (i.e. amount of memory, disk space and processor power) and configured who can access it. We’re ready to launch it!

At this point you wait for the instance to come online. This may take a few minutes for a small instance or about 30 minutes for an xxlarge one.
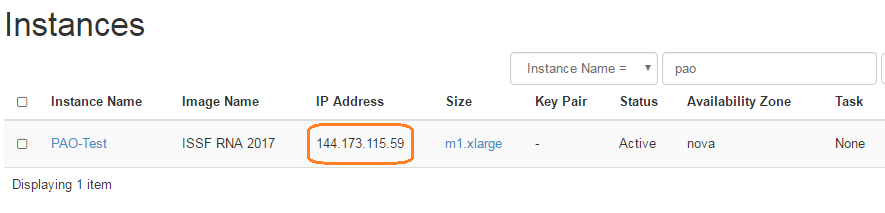
Below you can see an example of an instance starting up (or spawning). It is running in the University data centre. Note that we don’t need to worry or think about the underlying hardware the system is running on. That’s all taken care of for us by OpenStack and the Exeter IT team.

note: above is an example where the IP address is 144.173.115.209 (yours will be different). We will need it in a moment to connect via X2Go remote desktop. Make sure you copy the whole address and nothing but the address.
Congratulations you have ‘built’ a new computer to use for the rest of your course.
Next, you will learn how to connect to it from your PC.