In this section of the workshop we will log into Exeter’s OpenStack cloud.
In addition to being extremely comprehensive, the Exeter OpenStack cloud has a relatively easy (but detailed!) interface for interacting with its offerings. All you have to do is log in via a web-browser and most of the functionality of the is available for you and relatively easy to use.
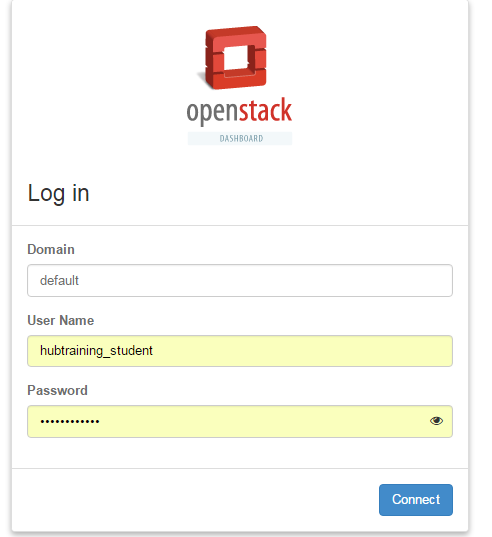
To get started go to the following URL and login with the domain, username and password distributed in the welcome email or given to you by your instructor.
We have set up a single account which we use for training. Please do NOT abuse this account. You will all log in to the same management console and will be able to see machines which your friends and colleagues on the course will start.
https://openstack.exeter.ac.uk
We can now take a look at the various services. These include:
The service OpenStack is known for. It enables you to create Linux and Windows Virtual machines. Best of all their computational and/or disk capacity can be increased or decreased at the click of a button! This section has most of the things we need for this course.
Object store: This is another type of storage, but is relatively slow. It is ideal for archive or when storing large files (i.e. several Gb).
Compute clusters: A way of linking and managing groups of Compute instances to act as a cluster. Yes - you can create your own private cluster!
A ton of other services that are geared towards building highly scalable and fault-tolerant web-based services. Many can be co-opted for use in research!
After logging in you’ll be presented with a wide range of options.
On this page you’ll get a summary of the state for your account. You can see an example below. Note that we are using a shared account where you’ll also see everyone else’s instances. If you were using your own Isca account, you would only see your instances (or that of your research group).

You see here that we have a certain allocation of resources (memory, disk space, CPUs). We can choose how to allocate these to accomplish our scientific goals. For instance, we may need one very large machine with lots of resource to do a single task (e.g. a genome assembly). Or we may want lots of smaller machines, each doing a small task (e.g. a webserver and a database server). We may want half the machines running Unix and the other half running Windows. The point is, we are in control of the compute and can choose what suits us best and it can all be done, by us at the touch of a button.
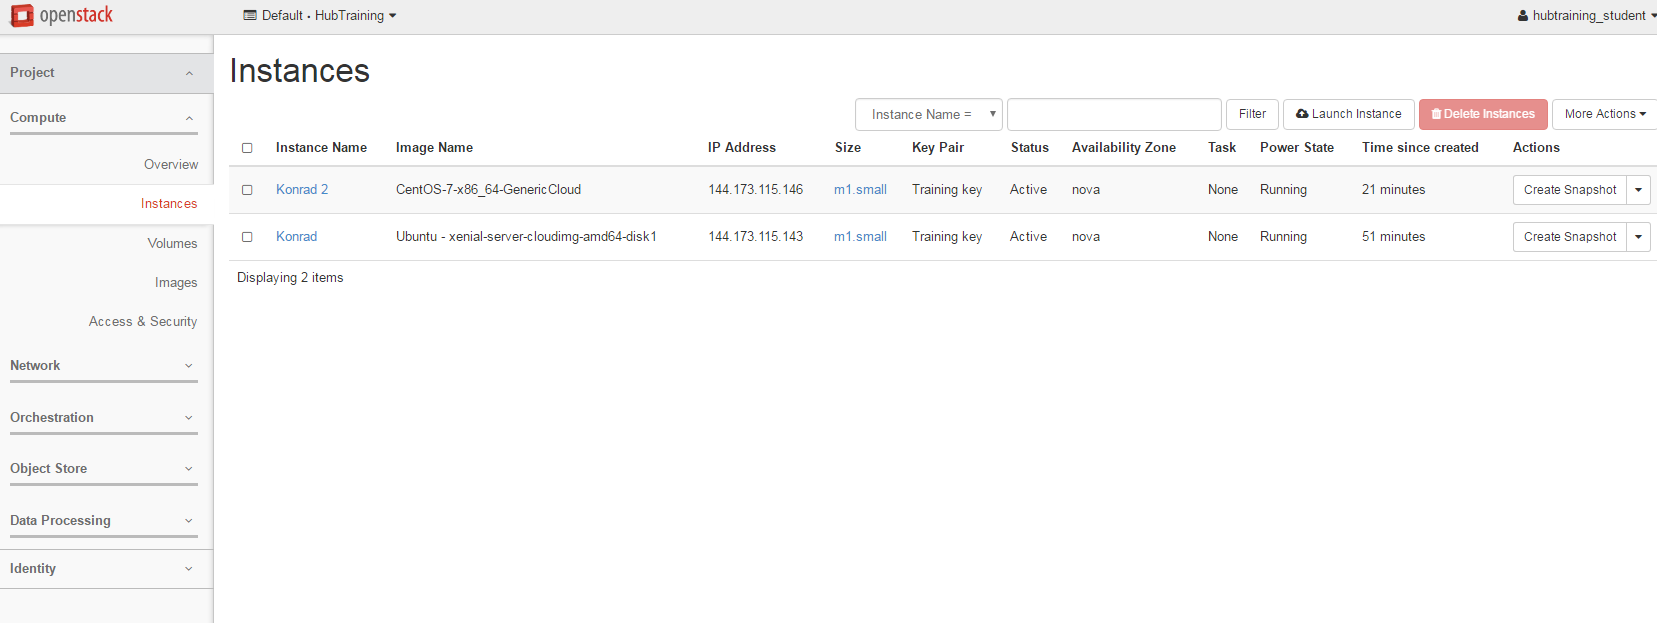
Ok, so how do we actually do all this? Well, from this page we can create our own servers on Exeter’s cloud using an image of a machine we have created earlier for you. Servers which are created in this manner are called ‘Instances’. We can create as many servers as we like, start them, log-in to them, do some work, transfer data to/from them or destroy them altogether. We let the IT team worry about the hardware, power, cooling and maintenance - all we need to do is specify how powerful a computer we want (tiny, small, medium, large or extra-large).
The reason we are using the cloud here is that many of you have to analyse large datasets. But you only need to cruch those datasets occasionally. In the case of high-throughput sequencing data (e.g. Illumina) you will find that your desktop PC may not be powerful enough to cope with the data. Also installing and configuring many pieces of software (often written by other scientists), is frequently painful as they often require other programs (also often written by other scientists) to be installed as well. Factor in some obscure incompatibility and you can quickly end up in a situation where two programs that you need refuse to co-exist. With OpenStack, you can just start a server instance based on an image created by someone else who has already done all the hard work of installation and configuration.
So let’s get on and launch our first instance!