
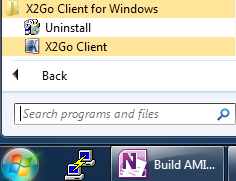
You may get a message like this, it only affects some features you don’t need.
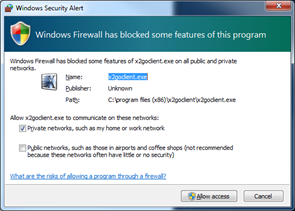
N.B - on some versions of windows you might get a different message - select ‘keep blocking’ or ‘cancel’
You should see the main screen
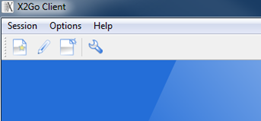
Now you need to tell your computer where to connect to:
[ on a new installation you may not need to perform this step - the Session dialog will load automatically - if it doesn’t …..]
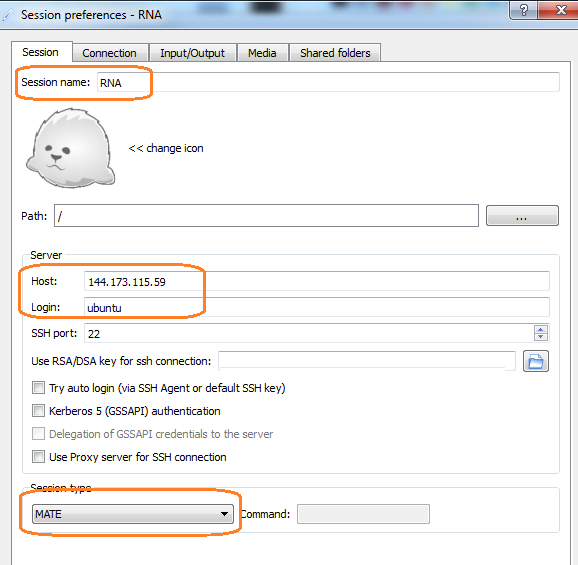
Once this has been done we need to change the display settings so you can work comfortably at the correct screen resolution
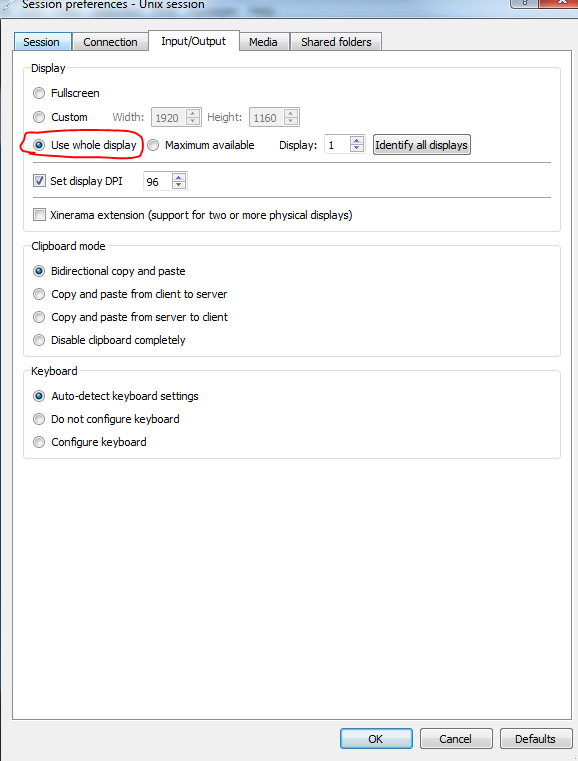
Your screen should now look like this:
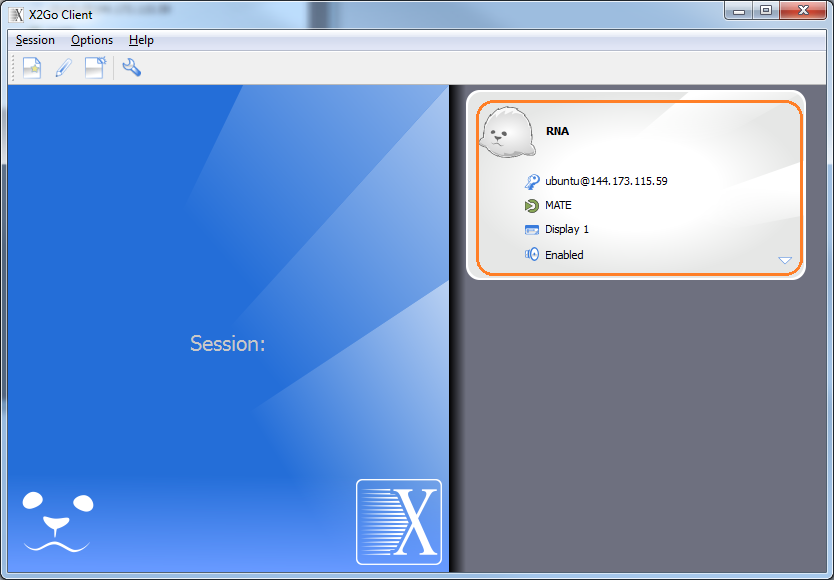
The first time you connect to your instance (or if the IP address changes after a reboot) you will see a message like:

click Yes.
Enter the password given to you by your instructor:
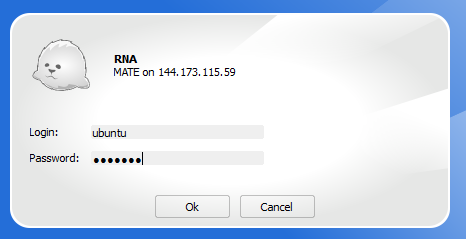
After a minute or so, you should see the connection open as below:
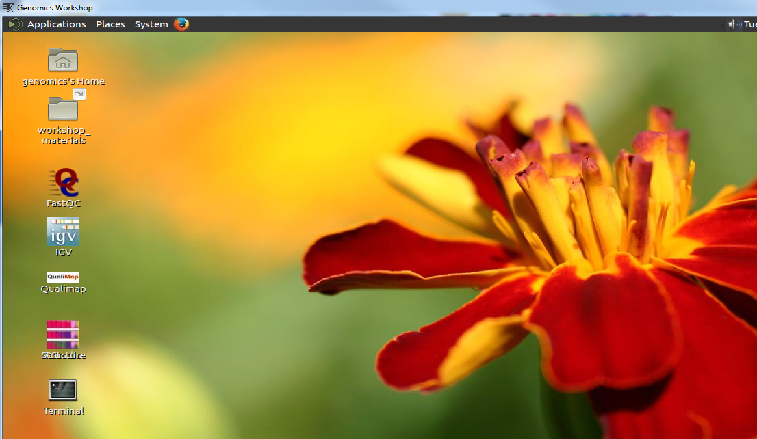
You might find it simplest to start up FireFox on you virtual machine desktop and continue the tutorial from there.
You are now ready to start the workshop proper.