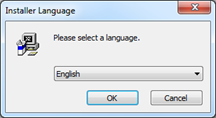
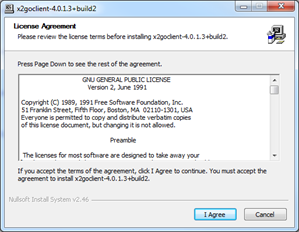
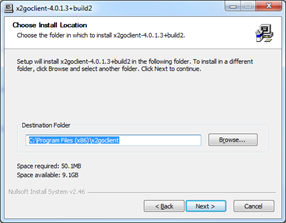
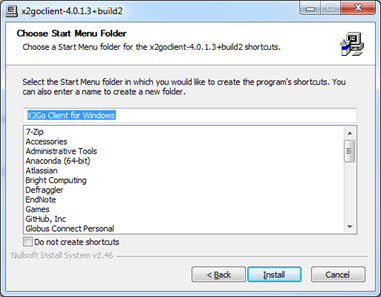
Whilst your instance is initializing - please note it may take some time (~5 minutes) - take this opportunity to install (it should already be installed on training PCs) and or configure the X2Go client software which you will need to connect to the instance.
This will allow you to see a windowing environment (like your Desktop) rather than just a terminal! It is a great option if you want to use a GUI application (Graphical User Interface). It’s very cool to see a remote desktop with Firefox and every other GUI application rendered quick and snappy over the Internet!
Here are the steps to get remote X2Go login working Note that these instructions will only work for this workshop’s particular machine image. Many machine images will not have the X2Go server installed and therefore you will not be able to connect using the X2Go client. In these cases you will have to look at how to connect using SSH. But you should not need to do that for these tutorials.
First determine whether X2Go Client is installed on your PC. If it is skip this section.
There may be a link on your desktop:

Or search for it in your start menu (type ‘X2Go into the search bar’):
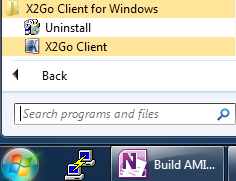
This is only necessary if you are using your own machine and have not installed X2Go previously. Skip to the next section if you are working on a machine in the Hatherly lab as X2Go should already be installed.
If you are on a windows computer, install it from this link - you will need admin rights on your computer.
http://wiki.x2go.org/doku.php/doc:installation:x2goclient
[[Documentation is here for other operating systems: http://wiki.x2go.org/doku.php/doc:installation:x2goclient]]
click on the link:

Then select the setup program. (.exe)

This will download the setup program to your computer.
Find the file and click on it: Depending on what browser you are using
in Chrome: 
Or FireFox: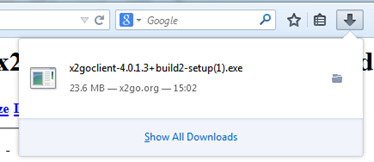
Or Internet Explorer:
You will get a screen asking for permission to continue - select ‘yes’
